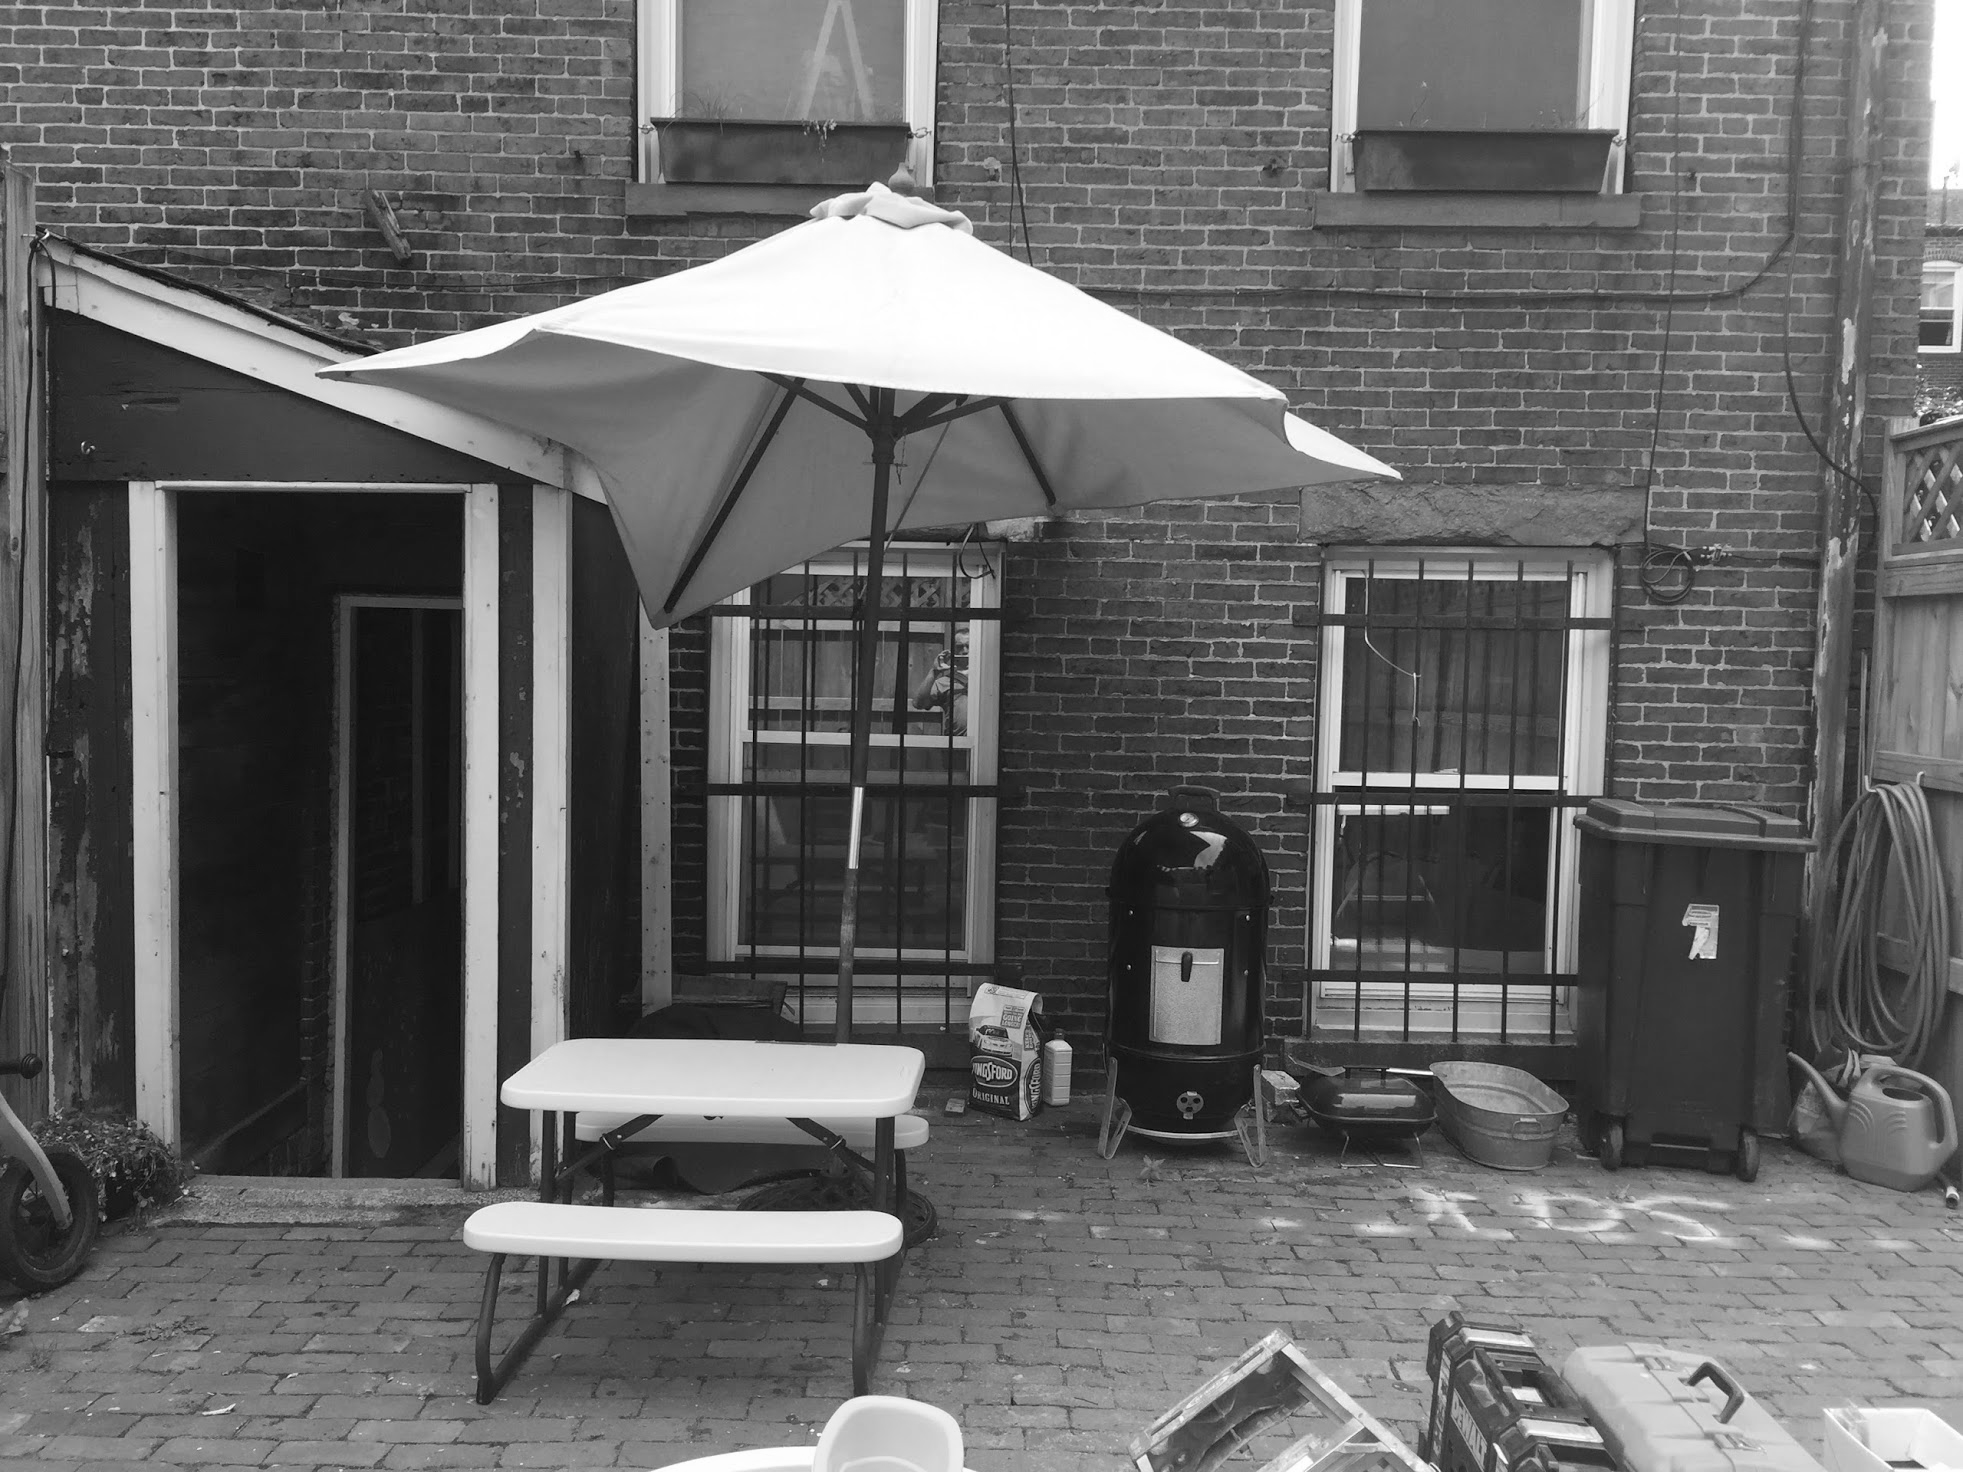
Now that you've seen the hellhole that WAS my back yard, you're probably ready to see pics of the after.
Sorry about that.
See, renovations like to take their sweet time, especially if you're like me and you tend to run your bank account to zero between your oh-so-glamorous real estate projects. Or if you like to stretch your summer/fall projects out by an extra month or two, forcing yourself to wait out the New England freeze-thaw cycle before attempting to put a wrought-iron deck on your house. Which is precisely how we've come to today, and to a suspended state of construction in which a full-size door, formerly a window, now leads from our kitchen to... nothing but a 12-foot drop.
Have I mentioned I have kids?

Don't worry, Sarah's got the safety signage covered.
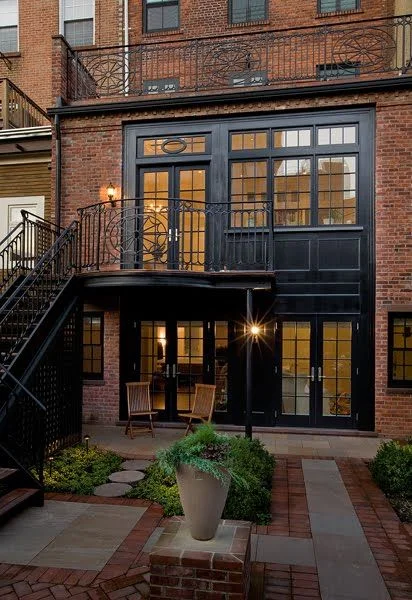
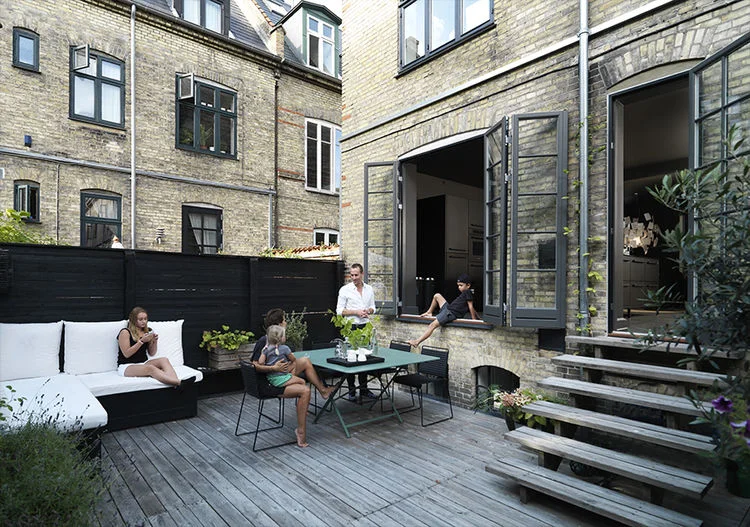
In any event, it's in this treacherous state of indefinite pause that I really, really need to remind myself of what's at the finish line. Thankfully, the universe has delivered, and I came across this stunning project via Architectural Digest last week. This image pretty much nails the look and layout I had in mind for the rear of our home months before: iron balcony above, spiral staircase down, seating area below, huge sliding doors on the garden level.

Well, this picture would have been handy to have before our 10 rounds of "what if?" sketches. Source: Peter Pennoyer (architect) and Shawn Henderson (design) via Architectural Digest
Getting to that "after" has been, and will continue to be, no small task. To give you a little peek at the process, here's an abbreviated look at what we HAVE done this fall (in tandem with the kitchen reno, because we're fucking nuts).
1. Excavation. First came the baby bulldozers (city sized!), and the masons. They dug out a portion of the patio close to the house, which would allow us to put in the full wall of sliding doors and have a wee hangout area just outside the doors. A few more steps will take you up to the rest of the patio.

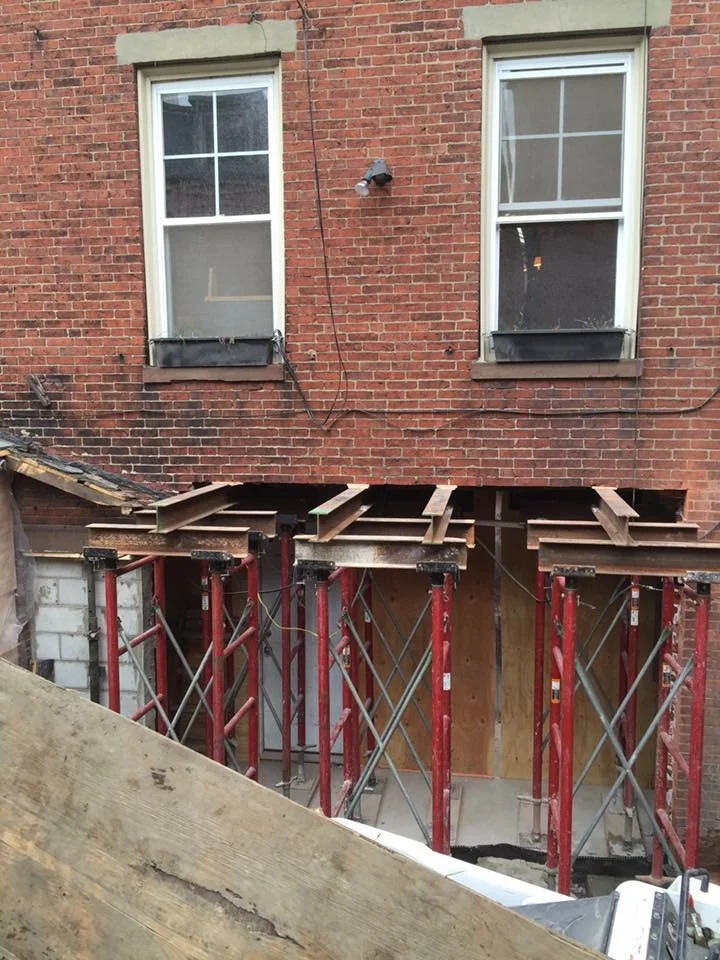
2. Structural support. Turning a brick wall with two windows and a crappy side entrance into a wall of sliding glass doors is just as stupid(ly expensive) as it sounds. First, the contractors, overseen by a structural engineer, put in scaffolding and support beams to bear the load of the entire back side of the house while they worked.
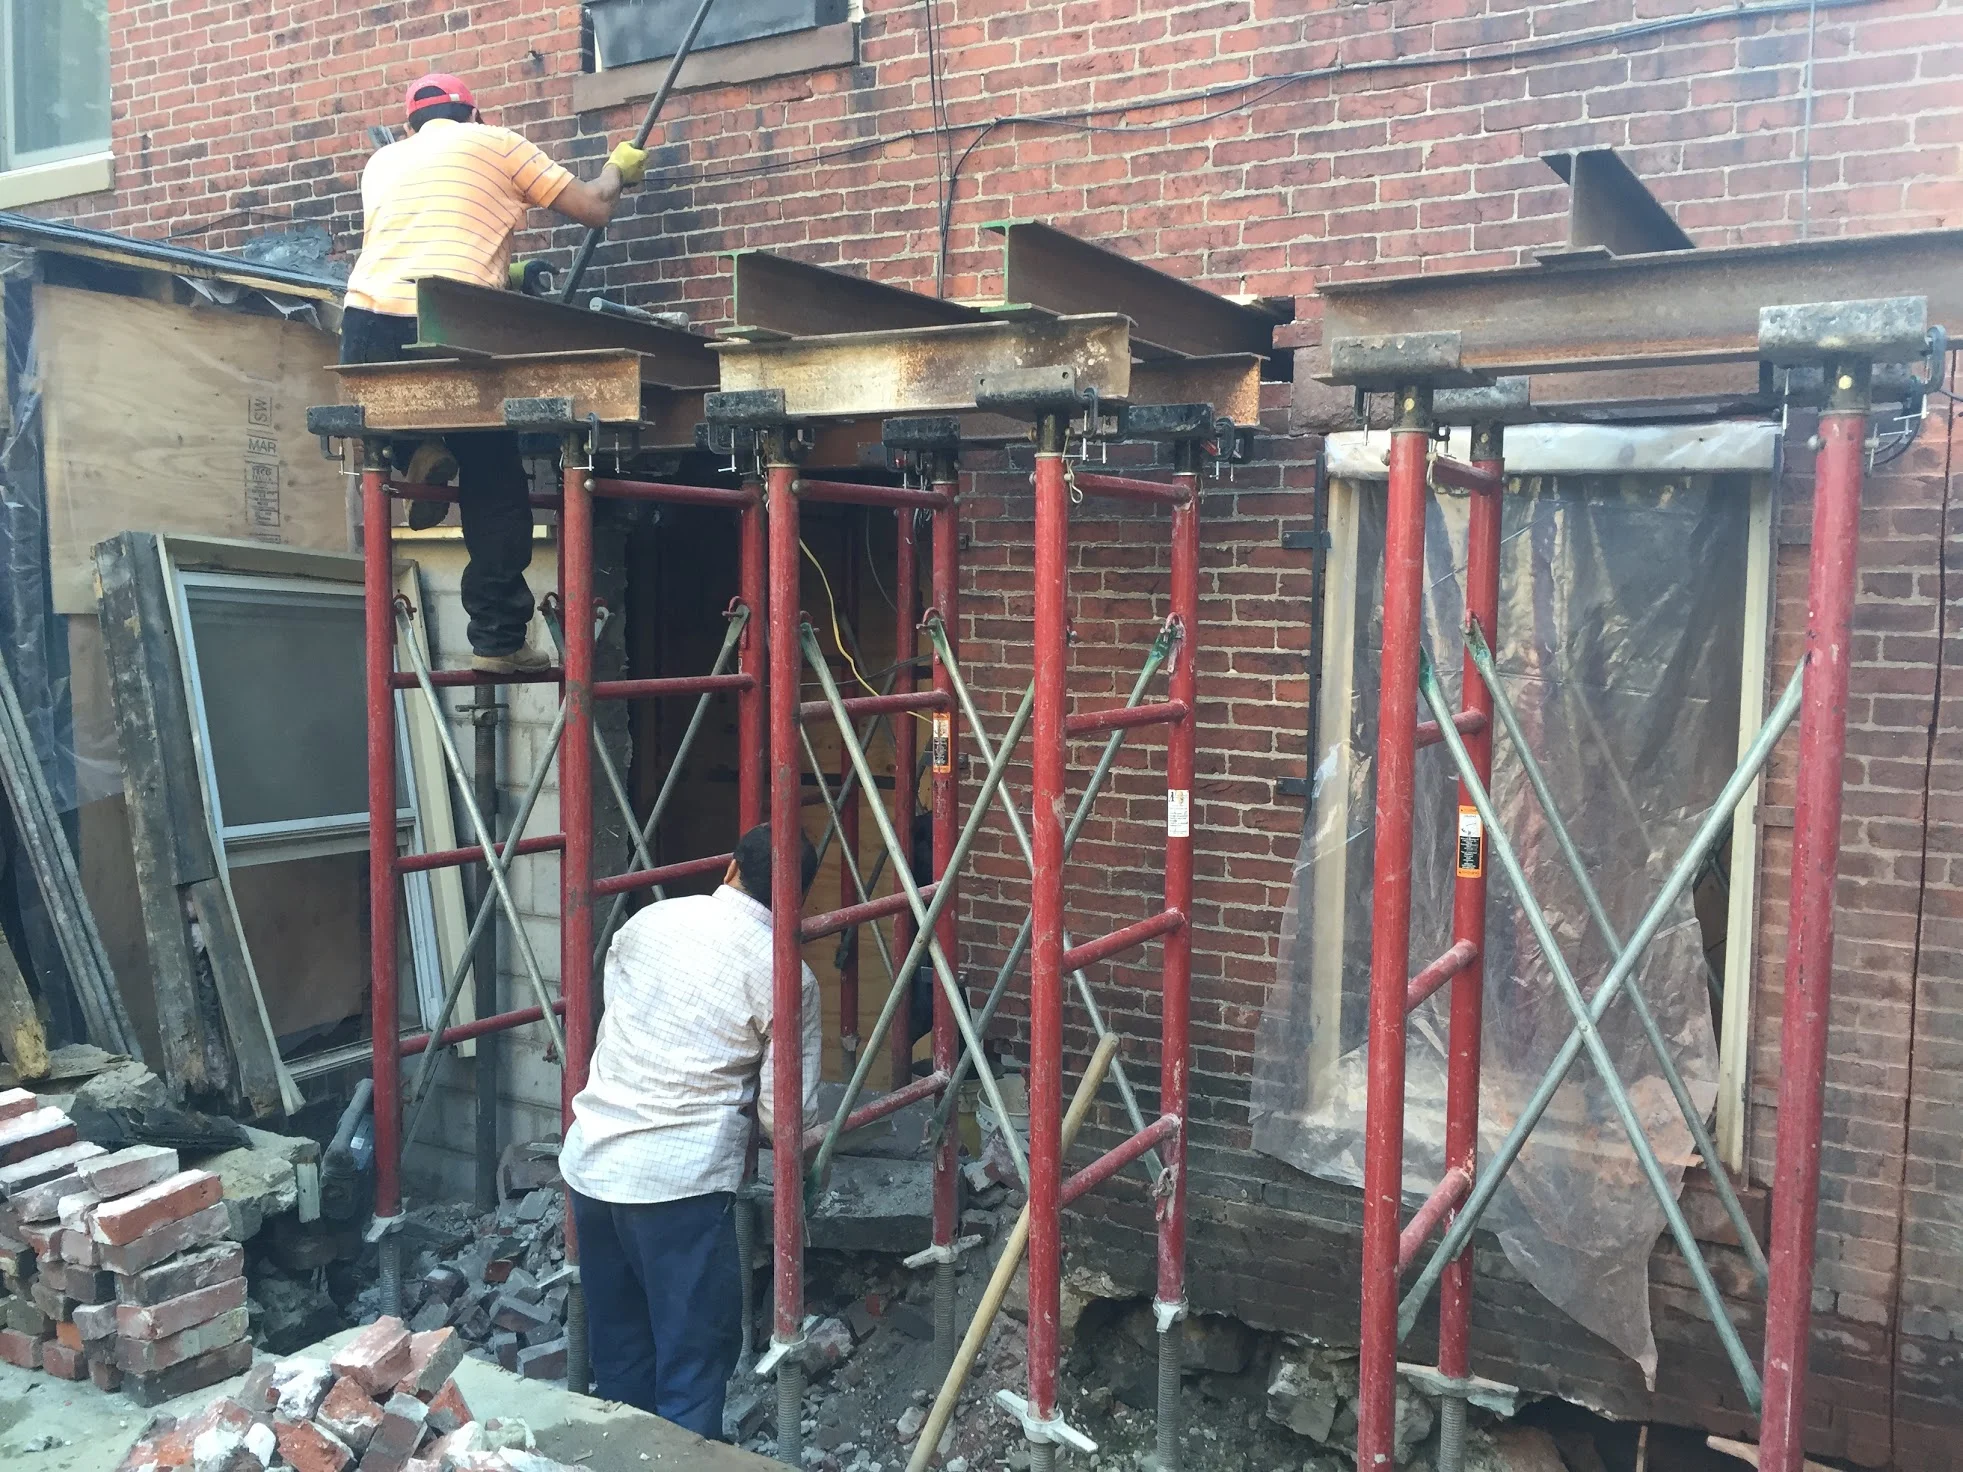
You can imagine how noisy this day was.
3. Brick removal. The next part was knocking out everything below the top beam; after that was gone, the team put a steel beam across the opening as permanent support. They also took out a section of brick under that upper window on the right side, so that we could turn it into the death trap/eventual door to our kitchen from the balcony.
Open and say ahh.
4. Door installation. This bit was more complicated than you'll see here, but after a TON of research into brands like Marvin and Nanawall, we found these amazing sliding doors which slide over one another, from La Cantina Doors. They were made to order in California, and once they were delivered, our contractors framed them up and installed them in the now-open garden-level wall.

The La Cantina doors in place. Check out the nifty staircase the contractors built so they could get in and out of the kitchen, eliminating the need to track in and out of our living space.

The garden level doors from inside.
After the doors went in, things mostly wrapped up outside. The masons did some drainage work to ensure the basement doesn't flood when it rains, and they finished the nook outside the sliders with bluestone pavers and brick steps up to the main patio. We built out the garden-level family room and the kitchen. In reality, I'm kind of grateful for this lull in exterior construction.
I just have to remember not to open that kitchen door.