For months I’ve been looking forward to the arrival our new marble countertops. If you’ve seen my master bath, you know I have a thing for marble, and the kitchen wasn’t about the be spared. Marble counters were a core piece of the design, and style-wise, one of the only non-negotiables on our list.
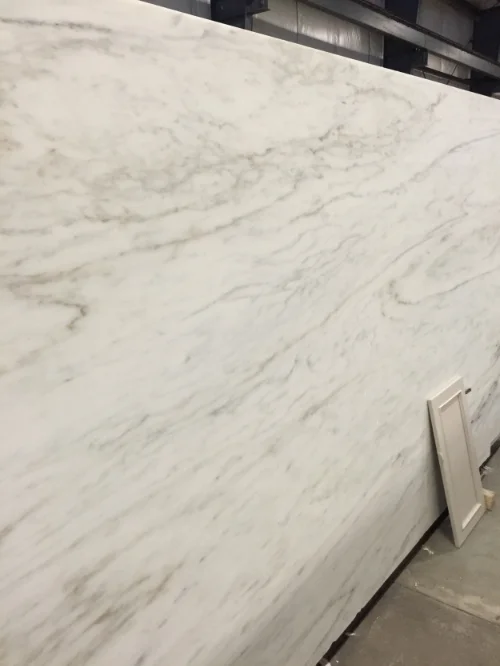
One of our Imperial Danby marble slabs in the warehouse with one of our cabinet doors. Danby marble is quarried in Vermont, and it's the same marble used in Arlington National Cemetery. Who doesn’t like cemetery marble?
We’d been warned about using marble in the kitchen. It’ll stain, we were told. It’ll etch, they said. Don’t think about putting anything acidic near your counters, they all cried.
What all of these warnings assume, however, is that we wanted FANCY marble. Immaculate marble. Shiny marble that screams I’m luxurious, bitches.
I do not want that kind of marble.
I want marble that shows signs of life. Countertops where we roll out pasta and pour flights of wine for our friends. I once went to a photo shoot at a home that had stunning, polished white Carrara marble counters; they shone like mirrors. The homeowners kept sheets of clear Plexiglass on the countertops, and we were under strict instructions not to place ANYTHING ACIDIC within splashing distance of the kitchen counters. No vinegar, juice, or even mayonnaise.
That’s just stupid. I'm not going to let stupid stand between me and my lovely, liveable marble. Do you think all of those Parisian brasseries and East Coast oyster bars refuse to serve white wine or lemon vinaigrette because it might leave a mark on their white marble countertops? No. They wipe up the mess, dim the lights, and ask you if you’d like another Chenin Blanc.

One of the inspirations for our kitchen design: the bar at Boston’s Neptune Oyster. Source: Haute Living
Call the marble police, but I’m going to (gasp) cook things in my kitchen. We’re going with honed marble rather than polished, as it’s what we’ve seen and loved at bars and restaurants. The finish is flat rather than mirror-shiny, so there’s less reason to worry about visible damage. And after we chose Imperial Danby white marble for its warm tones and consistent veining, which would help camouflage any marks, we were happy to learn that it has a much lower absorption rating than other white marbles (and even some granites), making it less prone to staining.
Even if we do stain the counters, there are fixes. You can make a poultice to draw out grease, or you can use this Comet trick to lift the stains. The Kitchn has a great post on the realities of living with marble, if you can take a relaxed approach to it.
So. I woke up with butterflies yesterday morning, knowing our cut counters would arrive at 7 a.m. The truck pulled up, we opened the double doors, and I stood back. I admired the heft. And I watched as they lay the gleaming sink counter into place.
Gleaming.
Fuck.
My countertops were polished.
How did this happen? When we picked out our slabs at Boston Granite Exchange, we noted that each slab had two finishes: It was polished on one side, honed on the other. The fabricator, assuming we were luxurious, bitches, cut our template on the polished side. It was an honest, and understandable, mistake. We’re pretty fabulous people (heh).
There may have been some yelling (mostly by Dave) when we realized what had gone wrong. We were also unimpressed with the rounded corners they cut for our square sinks. But luckily, countertops can be refinished, and the fabricator thinks he can try for a tighter cut on the sink edges. So after much stink-raising, our precious marble went back onto the truck. Our faucets, range, and and appliance-garage cabinets will have to wait until next week to be installed, after the counters are set.
And once they are, I’m pouring a goddamn glass of white wine and setting it on the kitchen island.


